Polishing a table saw top is an essential task for woodworkers who want to maintain their equipment and enhance its performance. The process helps remove built-up grime, rust, and scratches, leaving the surface smooth and free from imperfections. If you’re wondering how to polish a table saw top without causing any damage or unsightly scratches, you’re in the right place. This guide walks you through the steps, offering essential tips on maintaining a pristine cast iron surface for years to come.
A well-maintained table saw top not only looks better but also functions more efficiently, helping your saw glide smoothly through workpieces and improving accuracy. Many table saws come with rough surfaces that can hinder tool movement. Over time, the cast iron can accumulate dirt, rust, or scratches, especially if the table saw is used as a workbench for glue-ups or cutting projects. Polishing the table saw top correctly can prevent this from happening, making your workspace more enjoyable and your work more precise.
Key Benefits of Polishing a Table Saw Top
Before we dive into the how to polish cast iron table saw top techniques, let’s briefly discuss why you should bother in the first place:
- Improved Glide and Movement: A polished surface reduces friction, making your jigs and workpieces glide more smoothly across the table saw.
- Rust Prevention: By polishing your saw’s top, you reduce the chance of moisture accumulation, which leads to rust.
- Increased Durability: Regular cleaning and polishing protect the surface from wear and tear, prolonging the life of your table saw.
- Enhanced Appearance: A clean and smooth surface not only works better but also looks aesthetically pleasing, adding to the overall tidiness of your workshop.
Step-by-Step Guide to Polishing a Table Saw Top
Now that you know why polishing is essential, let’s explore the steps on how to polish a table saw top without causing scratches or damage.
1. Gather Your Tools and Materials
Before starting, ensure you have the following tools and materials:
- Orbital sander (optional, but highly recommended for quicker results)
- Sandpaper (various grits: 120, 220, 320, and 400)
- WD-40 (or any suitable lubricant for metal)
- Rags or paper towels
- Scotch-Brite pads (optional for polishing)
- Rubber gloves (for safety)
- Clean cloths or microfiber towels
Having these items ready will ensure that your task goes smoothly, and you’ll be able to work efficiently.
2. Clean the Surface
Before polishing, it’s important to thoroughly clean the table saw top. Dust, dirt, and debris can interfere with the polishing process, leaving scratches or uneven spots.
- Use a clean cloth to wipe off any sawdust and dirt from the table saw.
- Apply some WD-40 or another cleaner specifically designed for metal surfaces to break down the grime.
- Use a rag or paper towel to wipe away all the cleaning solution and any leftover dirt.
It’s essential to make sure the surface is free from debris before proceeding to the next step. The cleaner your surface, the better the polish.
3. Scrape Off Any Old Glue or Paint
If you’ve used your table saw as a workbench for projects, it’s likely that dried glue, paint, or other residues are present on the surface. These can scratch the surface if left untreated.
- Use a plastic scraper or a putty knife to gently remove any old glue blobs or paint. Be careful not to use anything too harsh that could scratch the surface.
- Once removed, wipe the area clean to ensure no leftover residue is present.
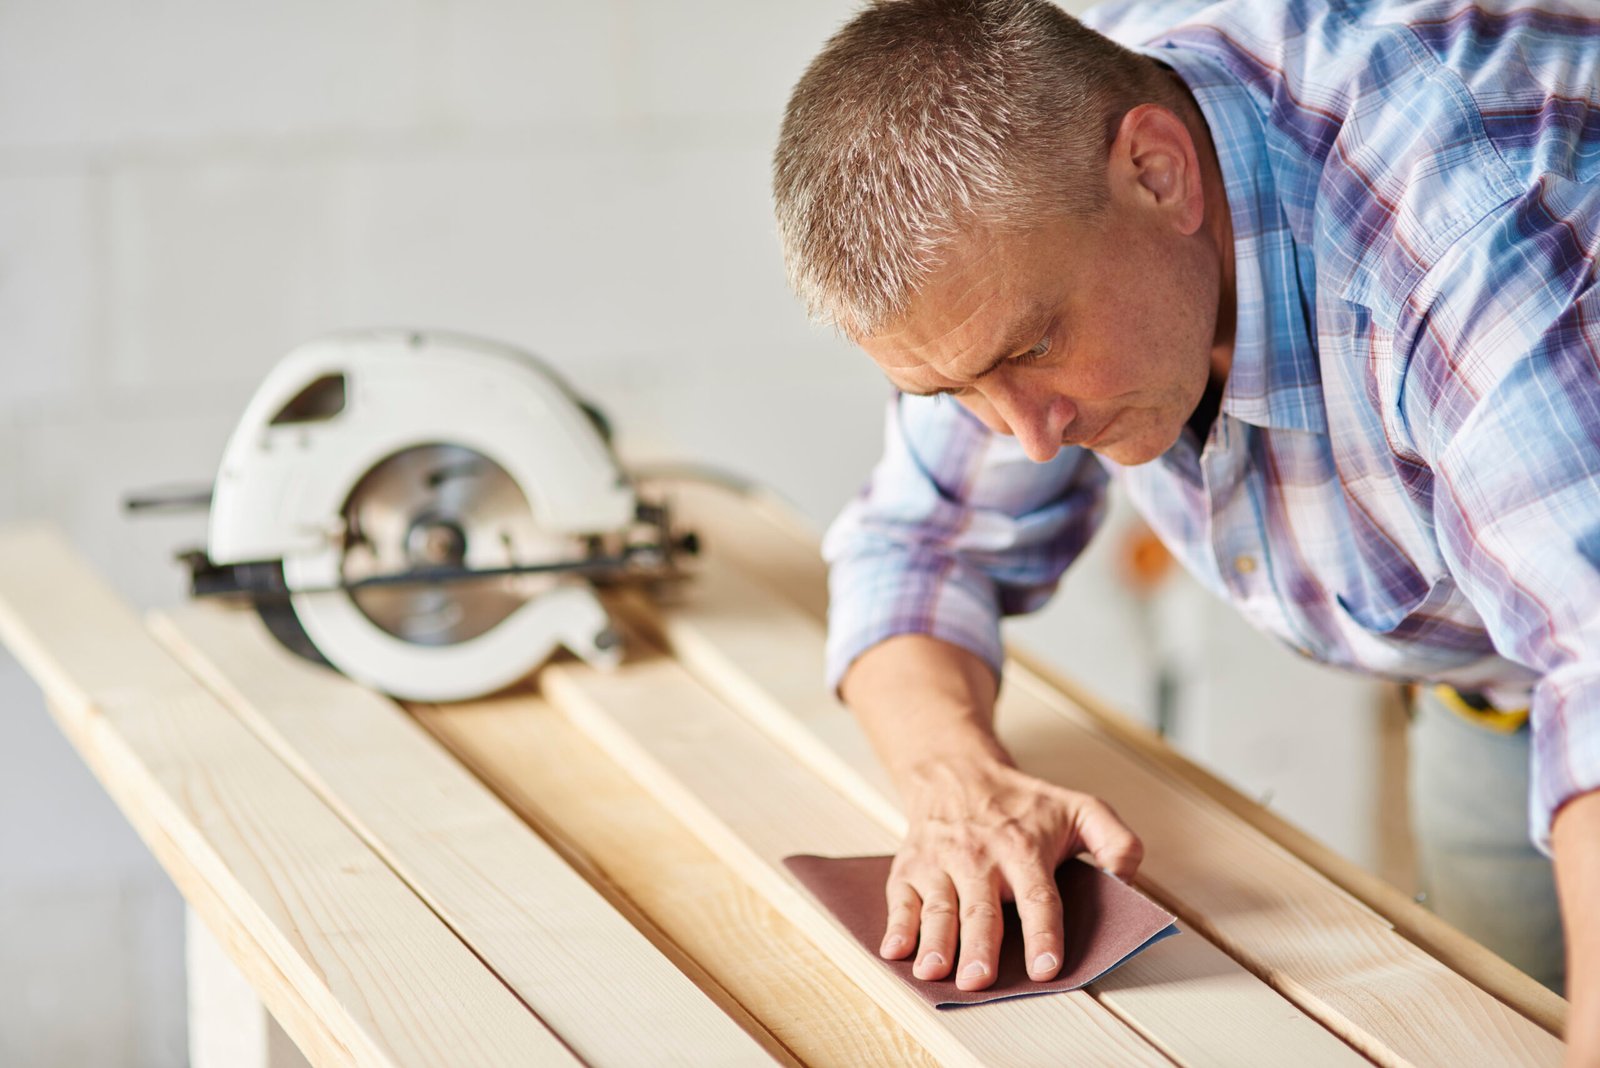
4. Sand the Table Saw Top
The sanding process is crucial for getting rid of imperfections like deep scratches, rust spots, and rough areas.
Start with Coarse Sandpaper:
- Attach 120-grit sandpaper to your orbital sander. If you don’t have a sander, you can use sandpaper by hand, but this will take longer.
- Work in small sections, ensuring you evenly sand the entire table saw top. Focus on any rusty or rough spots, but avoid over-sanding in one area, as this can cause unevenness.
- Sand along the grain of the metal. Be sure to move the sander or hand sandpaper in a consistent motion.
Move to Finer Grit Sandpaper:
- Once you’ve removed the bulk of the imperfections, move to a finer grit (220 or 320 grit). This will help smooth the surface even further.
- Continue sanding until the top feels smooth to the touch and is free from visible imperfections.
5. Polish the Surface
Once you’ve sanded the surface to a smooth finish, it’s time to polish the table saw top. Polishing helps give the surface a glossy, shiny finish and further reduces friction.
- Apply a small amount of WD-40 or a metal polish to a clean, dry rag or cloth.
- Use the rag to buff the surface, rubbing it in small circular motions. This process will create a smooth, reflective finish on your table saw.
- If you prefer, you can also use Scotch-Brite pads for a more even and consistent shine. These pads are excellent for providing a satin finish and can be used by hand or with a sander.
Be patient during the polishing process. The goal is to achieve a smooth, shiny surface without over-polishing or damaging the top.
6. Apply a Protective Coating
To ensure your table saw stays clean and protected, apply a light coat of wax or another metal protectant. This will help prevent rust and keep the surface smooth.
- Use a high-quality paste wax designed for metal surfaces. Apply it in a thin, even layer.
- Allow the wax to dry according to the manufacturer’s instructions.
- Once dried, buff the surface again with a clean cloth to bring out a glossy finish.
If you don’t have paste wax, you can always use WD-40 as an alternative. Simply apply a thin layer to the surface and wipe off the excess.
7. Regular Maintenance
To maintain the results, it’s essential to regularly clean and polish your table saw top. Perform the following maintenance tasks:
- Wipe down the table saw top after each use to remove any dust, sawdust, or moisture.
- Apply a thin coat of WD-40 or paste wax periodically to protect the surface from rust.
- If you notice any scratches or rough areas developing over time, re-sand and polish as necessary to keep the surface in top condition.
Additional Tips for Maintaining a Clean Table Saw Top
- Avoid Excess Moisture: Make sure that the table saw top doesn’t stay wet for prolonged periods. After cleaning, always dry it thoroughly.
- Be Cautious with Chemicals: Some cleaning chemicals may damage the cast iron surface or affect the finish. Stick to mild cleaners and oils that are specifically designed for metal surfaces.
- Cover the Table Saw When Not in Use: If you don’t have a dust collection system, covering the saw when it’s not in use can prevent dust buildup and keep the table top clean.
Conclusion
Polishing a table saw top is an important task for any woodworker, as it not only enhances the appearance of your tool but also improves its functionality. By following the steps outlined in this guide on how to polish a table saw top without scratching it, you can achieve a smooth, shiny, and rust-free surface that will glide effortlessly with your projects.
Regular maintenance, such as cleaning, sanding, and polishing, ensures your table saw remains in optimal condition, reducing wear and improving overall performance. Whether you’re a beginner or an experienced woodworker, learning how to polish cast iron table saw tops can make a significant difference in your work environment and the longevity of your equipment. Keep your tools in top shape and enjoy smoother, more accurate woodworking projects with a well-maintained table saw top.
Leave a Reply